
Last updated September 20, 2026
Free on-site gate assessment - hinges, posts, and your LiftMaster or Nice gate operator checked before anything is quoted
The assessment is free and the quote is the invoice.
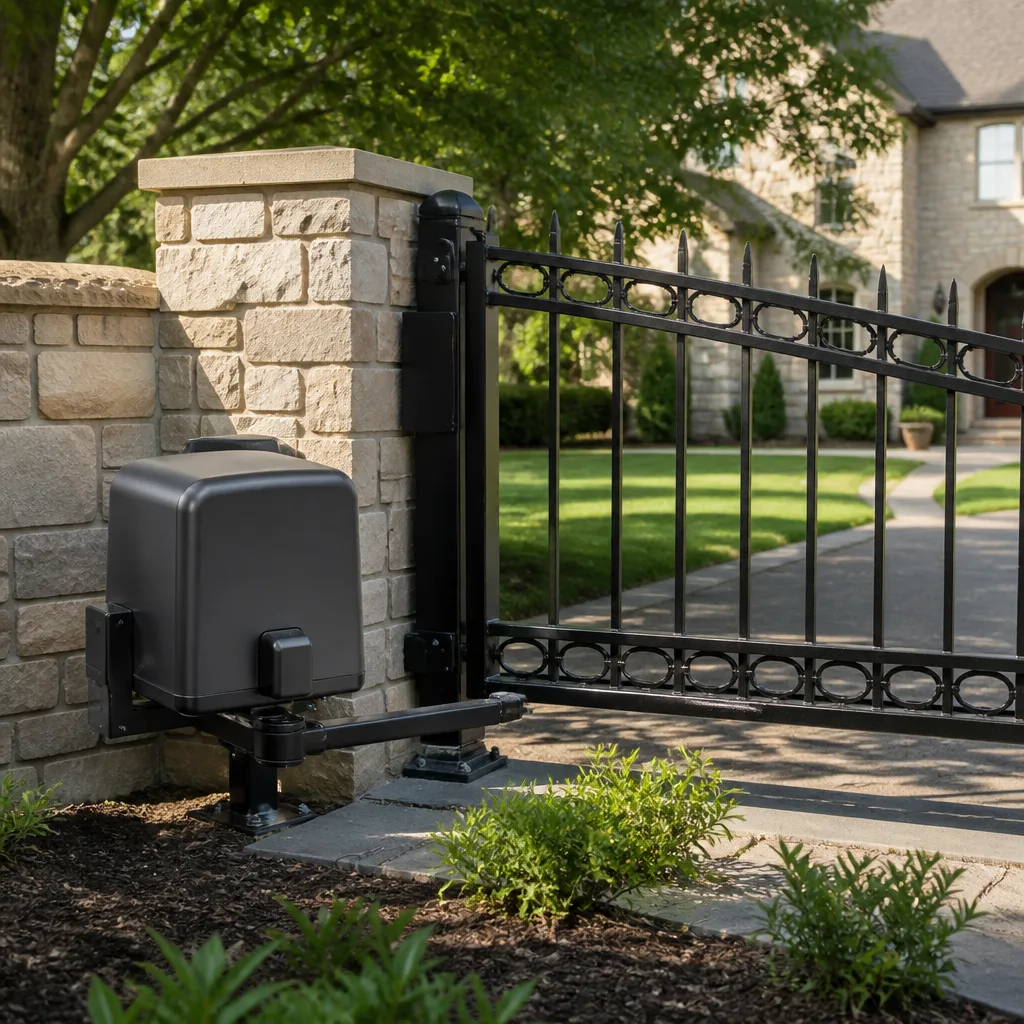
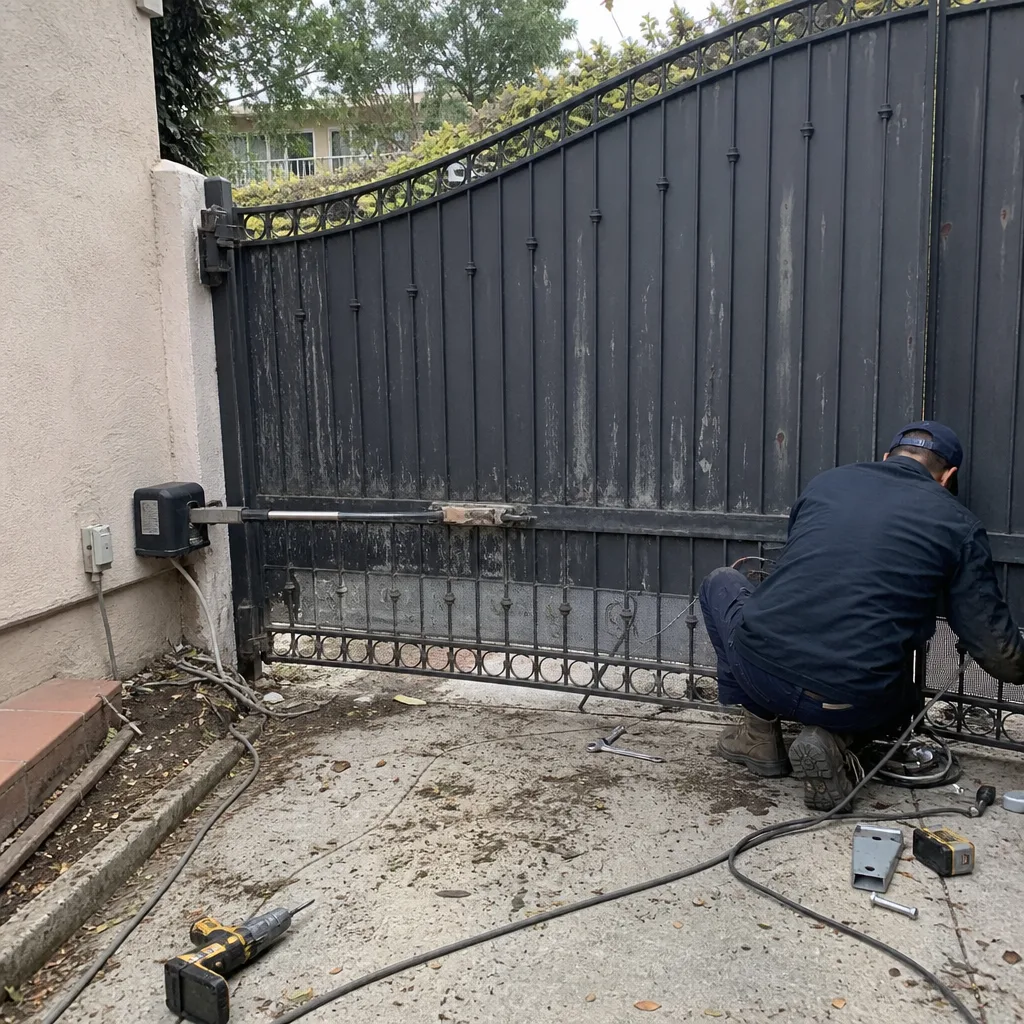 Before
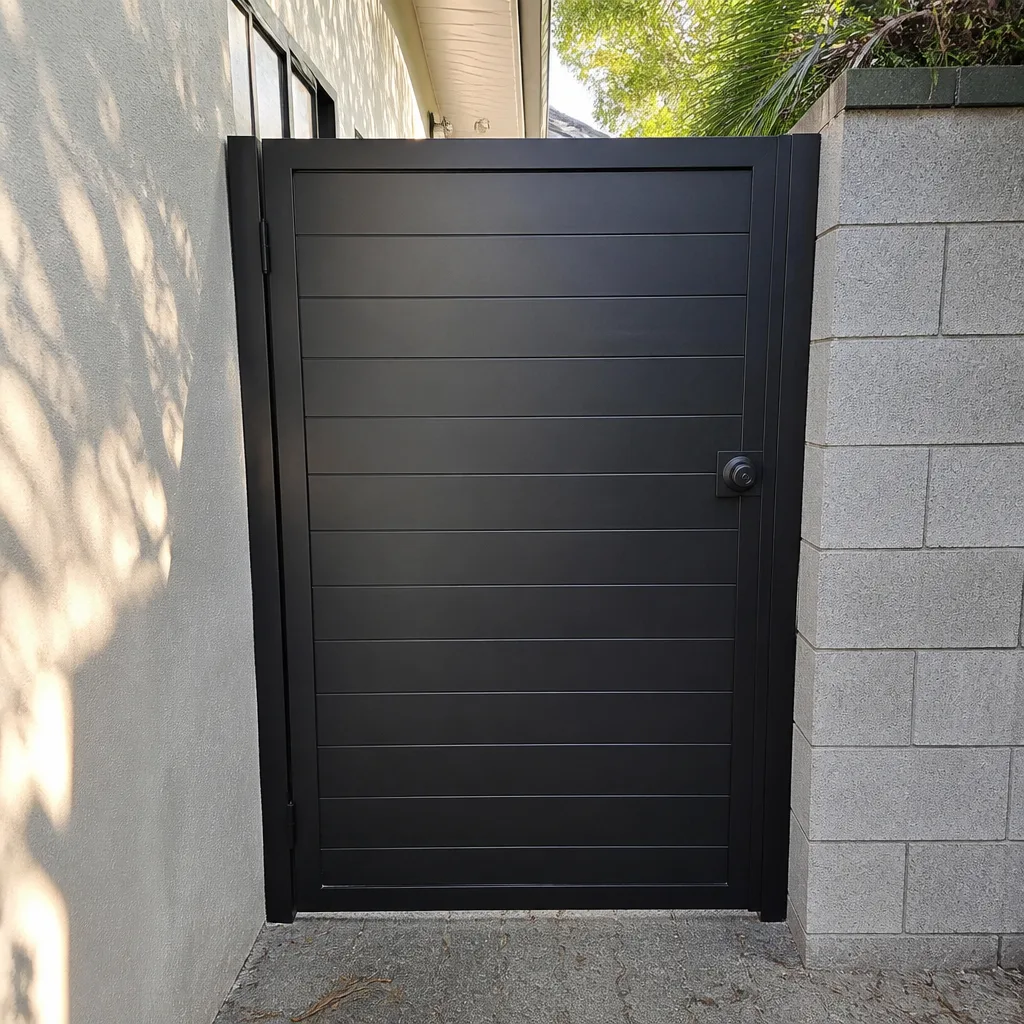 After
After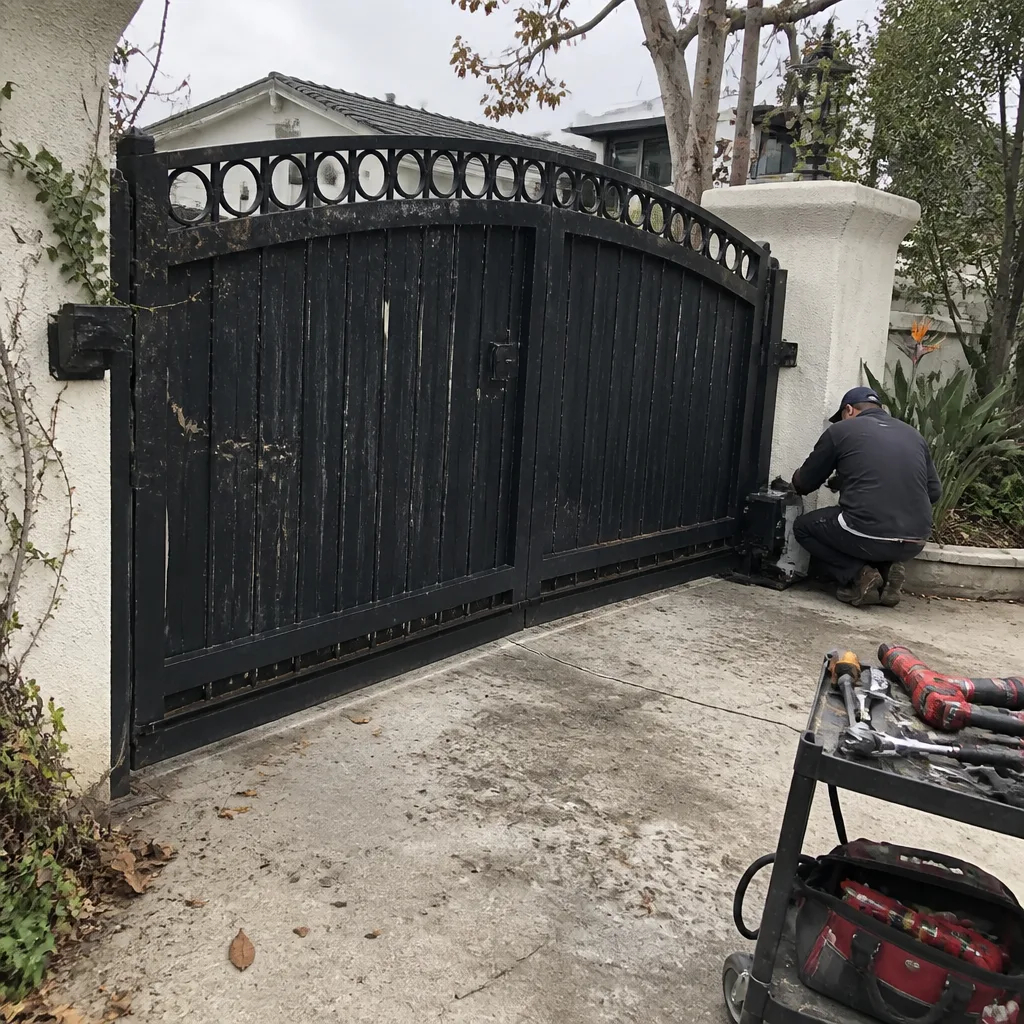 Before
 After
After Before
 After
AfterDIY vs Professional Gate Repair: The Sherman Oaks Homeowner’s Decision Guide
A gate operator contains two voltages in one enclosure: 24 volts of logic that tells the motor what to do, and 120 volts of supply that actually moves the gate. Most homeowners who own a multimeter and a set of screwdrivers can handle the 24-volt side without trouble. The 120-volt side, the control board, and the entrapment protection circuit are a different animal. A miswired board doesn’t always trip the breaker. Sometimes it just cooks a $400 component silently, or worse, defeats the safety loop that stops the gate from closing on a car or a child. This guide gives Sherman Oaks homeowners a specific set of criteria for deciding what’s safe to fix and what should go to a licensed technician, and it’s written by the people who get called after the DIY attempt goes sideways. For professional help, see our Gate Repair services.
Quick Answer
DIY gate repair is genuinely reasonable for about four tasks: lubricating the moving parts, cleaning and realigning the photo-eye, testing and resetting the manual release, and tightening loose hinge bolts. Everything else in a modern automated gate system, especially anything involving the operator wiring, the control board, the safety loop circuit, or the 120-volt supply, belongs with a licensed California technician. The dividing line is voltage and liability, not handiness.
Table of Contents
- The Voltage Divide: Why Gate Repair Is Not Like Other Home Repairs
- What’s Genuinely Safe to Fix Yourself
- What Is Not a DIY Job in California
- The Liability Question: What Happens After an Unpermitted Owner Repair
- How to Document a DIY Inspection Like a Technician
- The Sherman Oaks Decision Framework: Voltage, Component, Permit
- What DIY Actually Saves You: A Cost Comparison
- Common Mistakes to Avoid
- When to Call a Professional
- Frequently Asked Questions
- The Bottom Line
 Before
 After
AfterThe Voltage Divide: Why Gate Repair Is Not Like Other Home Repairs
A homeowner who has successfully replaced a light switch or a ceiling fan understands residential 120-volt wiring. The circuits are predictable. Black to brass, white to silver, ground to green, and the breaker does its job if you get it wrong. Gate operators are not built like that.
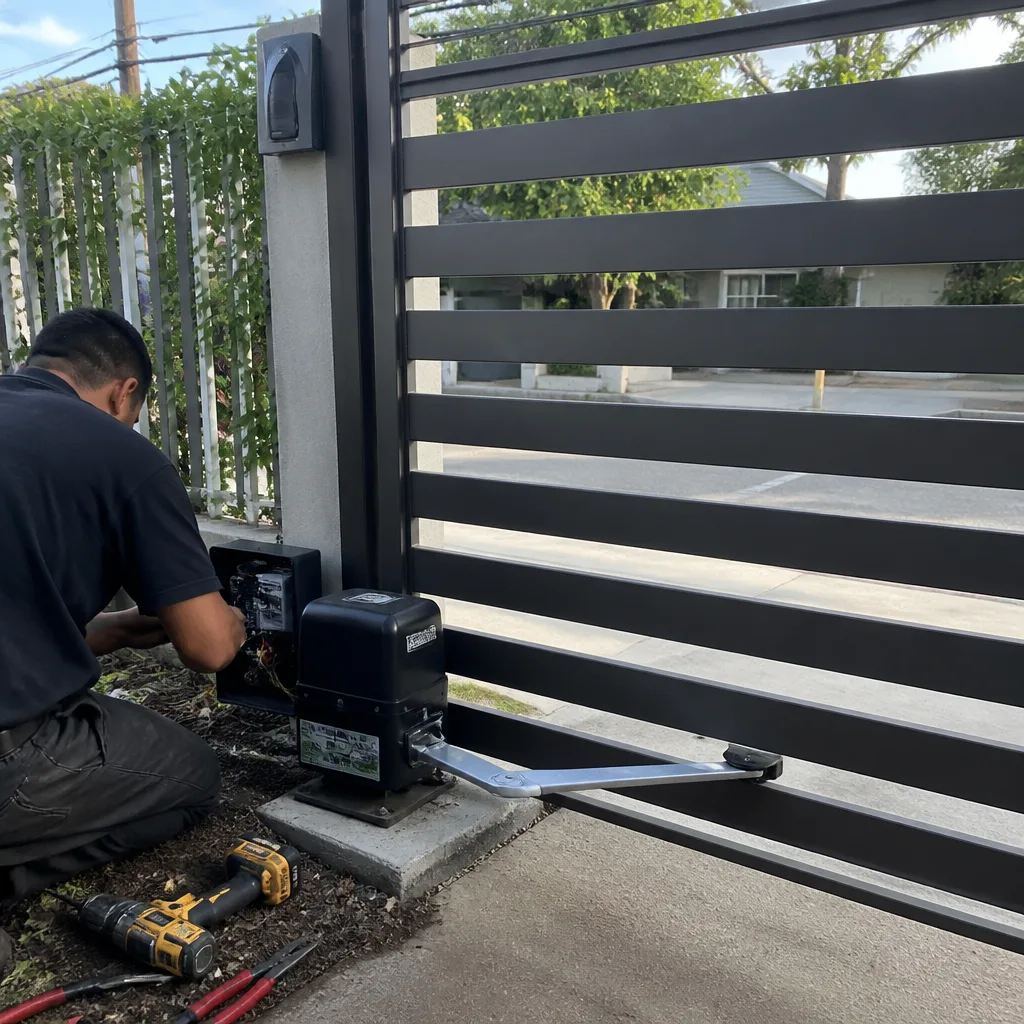
Inside a typical Sherman Oaks driveway gate operator, you’ll find a 120-volt AC supply line running into a transformer, which steps it down to 24-volt DC logic voltage for the control board, the limit switches, the photo-eyes, and the keypad. Both voltages share one metal enclosure. The control board is not a passive component. It’s a small computer that monitors the safety loop, the entrapment sensor, the force settings, and the travel limits. When you make a wiring change on the logic side, you’re not just routing electricity. You’re potentially changing how the board interprets a safety signal.
We’ve seen the aftermath in Sherman Oaks enough times to know the pattern. A homeowner opens the enclosure, moves a few wires, the gate works, and six weeks later the board fails. The failure isn’t dramatic. No smoke, no pop. The gate just starts behaving erratically, or the safety loop stops responding, and nobody knows why until a technician traces the wiring and finds a logic short that’s been degrading the board for a month.
A Gate Motor & Opener repair in Sherman Oaks is fundamentally different from most household electrical work because the safety systems are invisible until they’re tested. That’s the distinction that matters. The question isn’t whether you’re handy. The question is whether you’re working on something that can fail dangerously without looking broken.
What’s Genuinely Safe to Fix Yourself
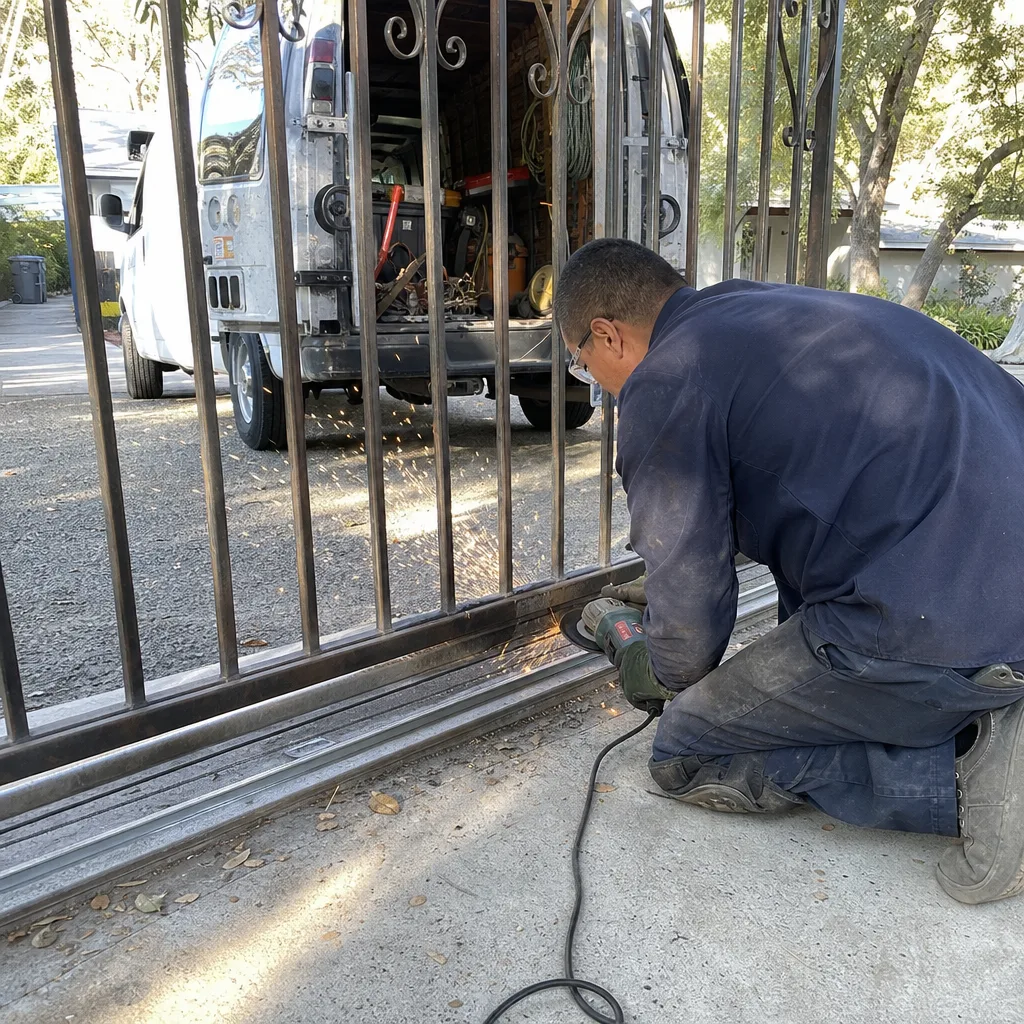
There are four tasks on an automated gate that fall within competent DIY territory. All four are mechanical or optical, none involve opening the operator enclosure or touching wiring, and all four improve the life of the gate without changing how the safety systems behave.
- Lubricate the moving parts. Gate hinges, wheel bearings on slide gates, and the operator arm pivot points take the San Fernando Valley summer heat and the winter rain. Dry hinges force the motor to work harder, which shortens its life. Use a dry silicone lubricant or white lithium grease on the metal-to-metal contact points every six months. Do not use WD-40 as a lubricant. It’s a solvent and it will strip whatever grease is still there.
- Clean the photo-eye lenses. The photo-eye is the infrared beam near the base of the gate that stops it if something crosses the path. Sherman Oaks dust and the occasional spider web are enough to block the beam and keep the gate from closing. Wipe the lenses on both sides with a soft cloth and check that the indicator light is solid, not blinking. A blinking light means the beam is misaligned or blocked.
- Test and reset the manual release. Every automated gate has a manual release mechanism, usually a keyed or pull-handle release near the operator. Once a month, open the release and confirm the gate swings or slides freely by hand. If it doesn’t, the problem is mechanical resistance, not the motor, and you’ve just found the cause of a future operator failure before it happens.
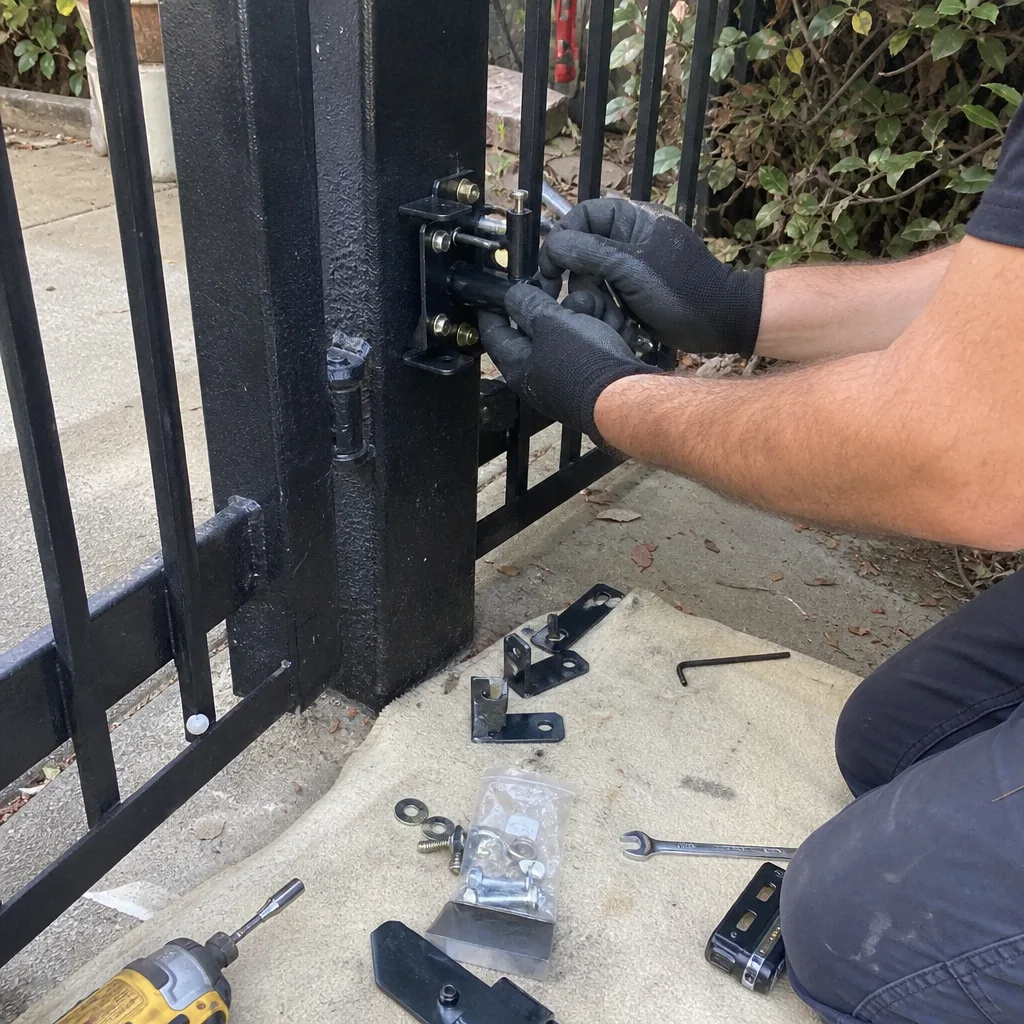
- Tighten loose hinge and bracket bolts. Gate hinges carry hundreds of pounds through thousands of open-close cycles. Loose bolts let the gate sag, which throws the travel limits off and puts strain on the motor. Check the hinge bolts and the operator arm bracket every quarter with a socket wrench. This is a five-minute job that prevents the most common mechanical failure we see on Gate Repair in Sherman Oaks calls.
None of these tasks require opening the operator enclosure, touching the control board, or changing the wiring. That’s the boundary. Cross it and you’ve moved from homeowner maintenance into licensed repair territory.
What Is Not a DIY Job in California
California has specific rules about who can perform electrical work on a property that isn’t their own, and the California Electrical Code classifies gate operator wiring as electrical work. For a homeowner working on their own residence, there’s a narrow allowance for certain electrical tasks, but gate operators sit in a gray area that most inspectors resolve against the homeowner once there’s been an incident.
Here are the tasks that cross into licensed-technician territory.
- Any wiring change inside the operator enclosure. That includes connecting a new transformer, splicing the supply line, or moving logic wires on the control board. A wiring mistake here may not trip the breaker. It may degrade the board over time or bypass a safety input without any visible warning.
- Control board replacement or repair. Boards from Ghost Controls, DoorKing, and Elite are not interchangeable without reprogramming force limits, travel limits, and safety loop sensitivity. Install a board wrong and the gate can close with enough force to injure a person or damage a vehicle.
- Safety loop circuit work. The safety loop is the buried wire that detects a car sitting on the driveway in the gate’s path. It’s not a simple open-close circuit. It’s an inductance-sensing system that the board reads at a specific frequency. A splice in the loop wire that uses the wrong connector or insulation type changes the loop’s electrical characteristics, so the board stops reading it. The gate will still operate, and the safety system will simply not be there.
- Operator motor replacement on a swing gate. The motor itself may be a bolt-in component, but setting the travel limits and force sensitivity correctly requires knowing the gate’s weight, the arm geometry, and the board’s specific programming sequence. A mis-set force limit is how a gate crushes a car bumper or closes on a person.
- Any repair that requires a permit. In Los Angeles, adding or significantly altering an automatic gate on a driveway that exits onto a public street can require a permit, particularly if the gate or the operator arm extends over a public right-of-way. An unpermitted repair that leads to an incident becomes a liability problem for the homeowner, not just a repair problem.
The pattern across all five categories is the same: the component you’re touching is connected to the gate’s safety behavior, and a mistake is invisible to the person who made it. You find out about the mistake when the gate fails, not when you finish the work.
The Liability Question: What Happens After an Unpermitted Owner Repair
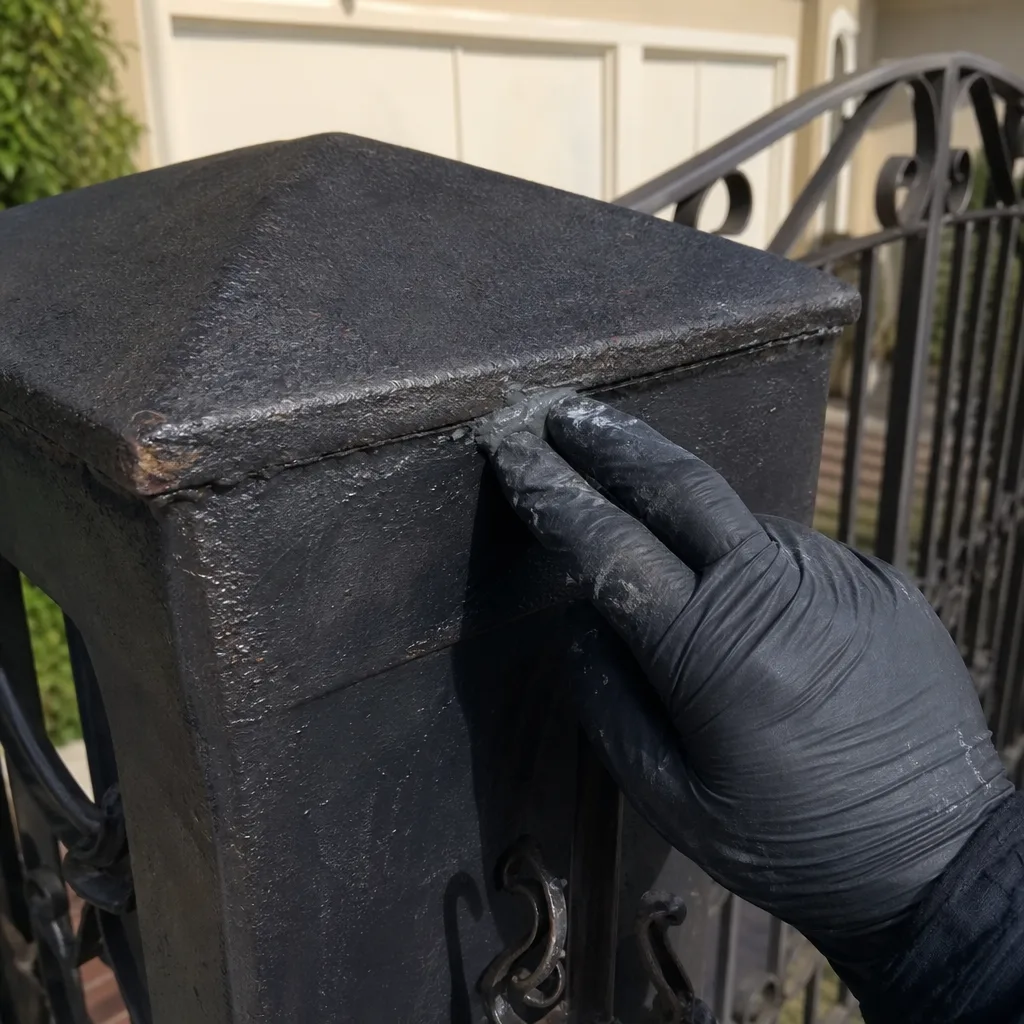
Here’s the scenario that changes minds. You repair your own gate operator. Something goes wrong. The gate closes on a delivery driver’s vehicle, or a neighbor’s child, or a guest’s car. The insurance investigation begins.
In California, an injury or property damage claim involving an automated gate will almost always trigger a review of the gate’s service history. If the most recent work on the gate was an unpermitted owner repair, the insurance company has a clear path to deny the claim or reduce the payout. The homeowner is now defending a liability position with no documentation to show that the gate was working correctly before the incident.
Even without an injury, there’s the smaller but still expensive version. The gate fails after your repair, and the failure damages the operator, the board, or the gate itself. Homeowners insurance typically covers sudden and accidental damage, but a service call that traces the failure to a botched DIY wiring change moves the claim into the excluded category: faulty workmanship.
This is where documentation matters, and it’s the reason our Vance Gate Repair Sherman Oaks work always includes a written record. When a licensed, insured technician performs the repair, there’s a paper trail showing what was done, what parts were installed, and what safety settings were verified. That trail doesn’t just protect the technician. It protects the homeowner in a liability dispute because it proves the gate was maintained and repaired to a professional standard.
One more point specific to Sherman Oaks. Many homes in this area have gates that swing out over the sidewalk, or have operators positioned close to a shared property line with a neighbor. That proximity raises the stakes on any repair. A gate that damages a neighbor’s fence or a passing car isn’t a theoretical risk. It’s a regular headline in Los Angeles insurance disputes, and the homeowner who did the last repair is the one answering the questions.
How to Document a DIY Inspection Like a Technician
If you decide to inspect your own gate before calling anyone, you can make the technician’s job faster and avoid paying for diagnosis time that duplicates what you already found. The key is to document what you observed, not what you concluded.
- Photograph the operator and the control board. Take clear photos of the entire enclosure with the cover off, the wiring connections, and the board itself. These photos are used to identify the brand, model, and current wiring configuration before a technician arrives.
- Record the gate’s behavior in specific terms. Note the exact symptom. “Gate stops halfway open and reverses” is useful. “Gate is acting weird” is not. Include when the problem happens: every cycle, only when cold, only after rain, only when the keypad is used.
- Check the simplest indicators. Look at the photo-eye indicator lights, the keypad backlight, and any status LEDs on the control board. Write down which ones are lit, blinking, or dark. A technician reading your notes can often identify the failed component before arriving.
- Test the manual release, then document the result. Open the release and move the gate by hand. Does it move smoothly or does it bind? A smooth manual swing means the problem is electrical or control-related. A stiff manual swing points to a mechanical issue.
- Leave the enclosure cover off only if you’re comfortable and the area is dry. If you do open the enclosure, photograph it and then close it back up. Do not touch the wiring. The photos give the technician the information they need without anyone taking a risk on a live 120-volt circuit.
This kind of documentation mirrors what we do on every Gate Installation in Sherman Oaks job: photograph what’s there, record what’s measured, and leave a written account of what was changed. When a homeowner shows up with this kind of record, the technician can move straight into diagnosis instead of repeating the inspection. You’re not paying a professional to rediscover what you already know.
The Sherman Oaks Decision Framework: Voltage, Component, Permit
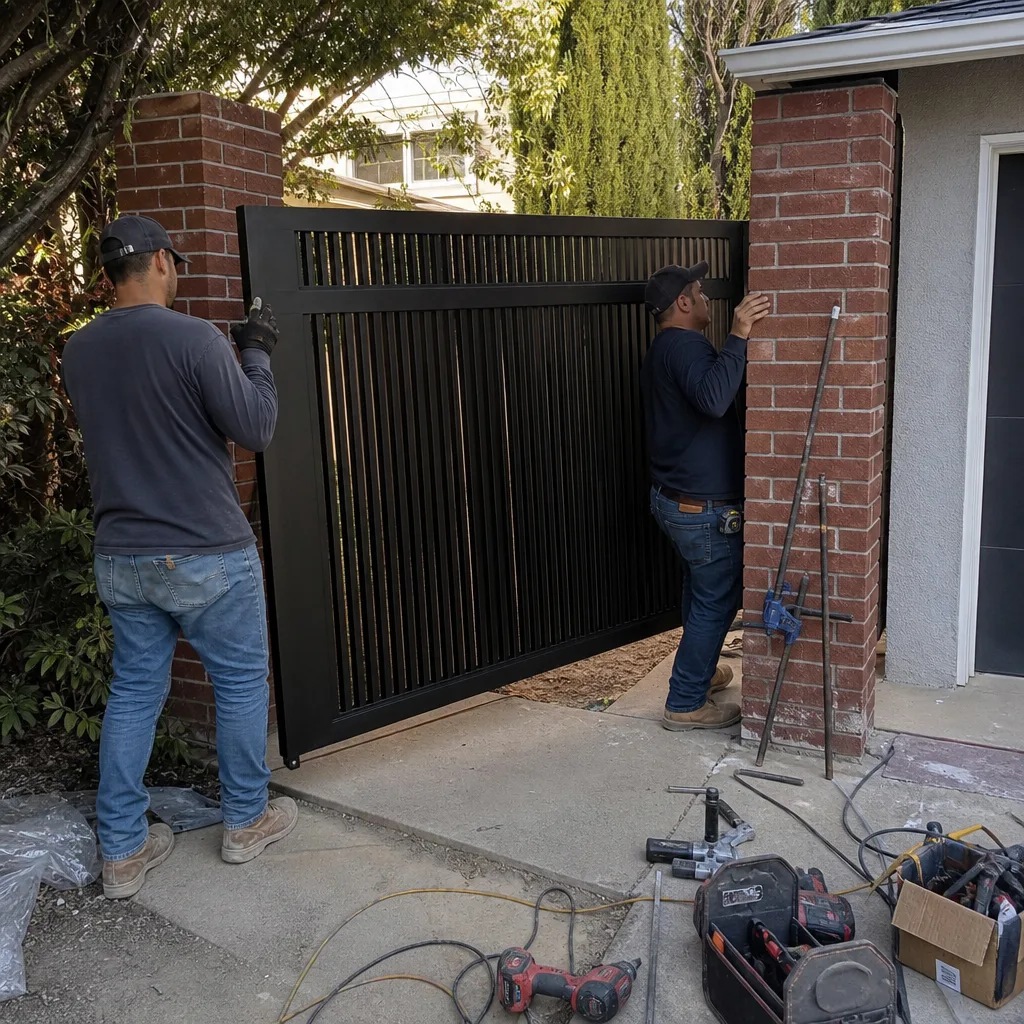
Instead of a vague “when in doubt, call someone” rule, here’s a three-question framework that produces a specific answer.
Question 1: What voltage is involved?
If the task involves only mechanical parts (hinges, brackets, wheels, chain tension) or cleaning the optical sensors, it’s safe DIY territory. If the task requires touching anything inside the operator enclosure, you’re now working around a live 120-volt supply and a 24-volt logic system. That’s the line. Cross it and the task becomes professional work.
Question 2: What component are you replacing or adjusting?
A hinge bolt and a control board are both “parts,” but they occupy opposite ends of the risk spectrum. The rule: if the component you’re touching affects the gate’s safety behavior (force limits, travel limits, safety loop, photo-eye alignment, entrapment sensor), it’s a technician job. If the component only affects mechanical movement (lubrication, hinge tightness, wheel bearings), it’s a homeowner job.
Question 3: Does the work require a permit?
Most repair work doesn’t require a permit, but significant modifications to a gate system that interacts with a public right-of-way can. If your gate swings out over a Sherman Oaks sidewalk, or the operator arm extends past your property line, and you’re changing how the gate operates, check with the Los Angeles Department of Building and Safety before touching anything. If the answer is “yes, a permit is required,” the work immediately moves to a licensed contractor.
Run any gate repair task through these three questions and you’ll get a clear answer within thirty seconds. Lubrication: no voltage, mechanical component, no permit. Safe. Control board replacement: enclosed voltage, safety component, possibly. Technician. It’s not complicated once the criteria are named.
What DIY Actually Saves You: A Cost Comparison
The financial case for DIY gate repair looks strong until you factor in the cost of getting it wrong. Here’s the honest math for a Sherman Oaks homeowner. For detailed pricing information, read our Gate Repair Cost Breakdown: The Sherman Oaks Homeowner’s Reference for 2026.
| Task | Typical DIY Cost | Typical Professional Cost | Cost of a Mistake |
|---|---|---|---|
| Lubrication and hinge tightening | $15-$25 for lubricant and a socket set | $85-$150 for a service call | Minimal. You can’t really damage a hinge by lubricating it. |
| Photo-eye cleaning and realignment | $0-$10 for a cloth and an hour | $90-$140 if it’s a separate visit | Low. Worst case is the gate still doesn’t close and you call someone. |
| Manual release testing | $0 | Included with any service call | None. This is just confirming the gate moves by hand. |
| Control board replacement | $180-$400 for the board | $350-$650 including the board, programming, and verification | $400 for a second board, plus any damage from an improperly programmed force limit. Could exceed $1,000. |
| Operator motor replacement | $200-$450 for the motor | $600-$1,100 including travel limit and force setting | A mis-set force limit can dent a car panel. That’s $800-$1,500 in bodywork, plus the motor is still mis-set. |
| Safety loop splice repair | $20-$40 for splice kits and wire | $250-$450 for diagnosis and a proper splice | A failed loop splice means the gate no longer detects a car in its path. The damage from a gate closing on a vehicle is $1,000-$3,000 and up. |
The tasks where DIY saves real money are the tasks where DIY is actually safe. The tasks where the savings look large are the tasks where the downside is a destroyed control board, a liability claim, or a gate that closes on something. In those cases, the professional repair is cheaper than the DIY failure, and the written price from a company like ours means the professional cost is known before the work starts. That’s the whole point of The Haven Standard: a written price under Clause 1 (Have it in writing) means no surprise invoice, and the 365-Day Done Right Promise means the repair is corrected at no charge if anything isn’t right.
Common Mistakes to Avoid
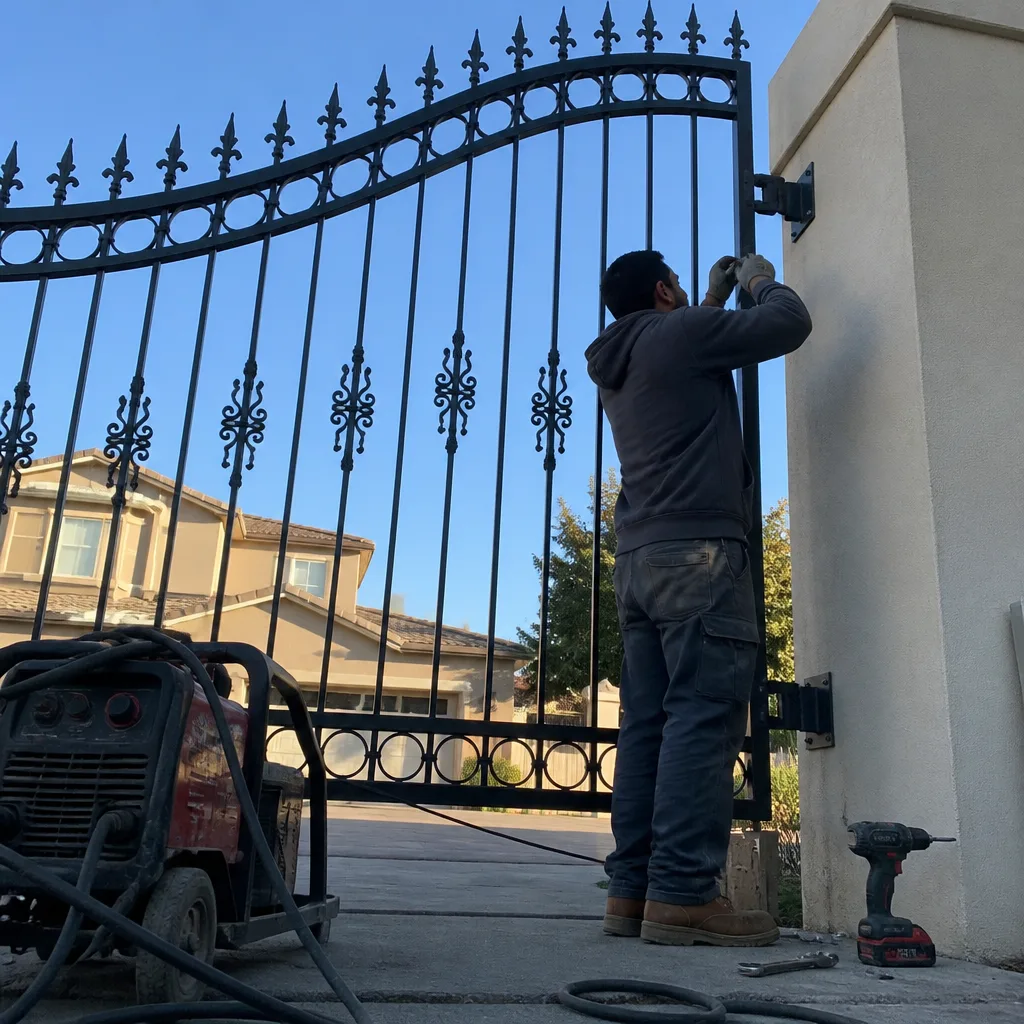
- Using WD-40 as a lubricant on gate hinges and bearings. WD-40 is a solvent that strips existing grease and then evaporates. Two weeks after applying it, the hinge is drier than before. Use white lithium grease or silicone spray instead, both available at any Sherman Oaks hardware store.
- Adjusting the travel limits to “fix” a sagging gate. If the gate sags because the hinges are worn, changing the travel limits masks the problem rather than fixing it. The motor now works harder every cycle, and the hinges continue to wear. Tighten or replace the hinges first, then reset the limits.
- Assuming the breaker tripped because of a short in the operator wiring. Sometimes a tripped breaker on a gate circuit is the breaker doing its job correctly. If you install a higher-amperage breaker to stop the “nuisance” trips without finding the underlying short, you’ve removed the safety device protecting the circuit. Never swap a breaker without diagnosing the trip.
- Disconnecting the safety loop to “get the gate working again.” A gate that closes without responding to the safety loop will eventually close on a car, a garbage can, or a person. This is the most dangerous shortcut we see, and it’s the one that most often leads to an injury claim. If the loop is malfunctioning, the gate should stay open until the loop is repaired.
- Buying a replacement board from an online marketplace with no brand match verification. A Ghost Controls board cannot be swapped into a DoorKing enclosure just because the connector looks similar. The programming is brand-specific and model-specific. An incorrectly matched board will either not function or will bypass a safety input.
- Ignoring a gate that’s been making a new sound for two weeks. A grinding or straining noise from a gate operator in Sherman Oaks is not a personality trait. It’s the sound of a component working harder than it should, and the cause is usually mechanical resistance that compounds into a motor failure. Oil the hinges, check the wheel bearings, and call someone before the noise becomes a breakdown.
- Attempting a repair without checking whether the gate is in a permit-triggering position. Gates that swing over the sidewalk or the driveway apron in many parts of Sherman Oaks may be subject to specific setback and right-of-way rules. Changing how the gate operates in that position without checking with the building department can create a code compliance problem that has to be undone.
When to Call a Professional
Call a professional when the gate involves enclosed voltage, a safety component, or a permit requirement, and be honest about which category your problem falls into. A gate that won’t close because the photo-eye is dirty is a five-minute fix. A gate that won’t close because the control board isn’t reading the photo-eye signal is a diagnostic job with a multimeter and the wiring diagram. The first one you can do. The second one you shouldn’t.
In Sherman Oaks, the climate is also a silent factor. The heat and dust of a San Fernando Valley summer accelerate bearing wear, dry out grease, and stress the capacitor that starts the motor. If your gate has been installed for more than five years and hasn’t had a professional inspection, the odds are good that something on the mechanical side is wearing faster than you’d notice from the outside. For a complete maintenance schedule, see our Gate Repair Maintenance Checklist for Sherman Oaks Homeowners. Vance Gate Repair Sherman Oaks offers free estimates in Sherman Oaks. Call (213) 463-6296 and we’ll send a technician with a written price before any work starts.
Frequently Asked Questions
Most gate repairs in Sherman Oaks run between $120 and $650 depending on the component. A photo-eye realignment or hinge tightening is at the low end, a control board replacement is in the $350 to $650 range, and a complete operator motor replacement can run $600 to $1,100 including programming. Every job from Vance Gate Repair Sherman Oaks gets a written price before work begins under Clause 1 of The Haven Standard. Call (213) 463-6296 for a free estimate; the number you get is the number you pay.
You can physically install a replacement motor, but setting the travel limits and force sensitivity correctly requires knowing the gate’s weight, the arm geometry, and the brand-specific programming sequence for brands like Mighty Mule or Elite. A mis-set force limit is how gates damage vehicles and injure people, and in California, an unpermitted owner repair that leads to an incident becomes a liability problem for the homeowner. This task crosses the voltage and component lines in the decision framework above. Call (213) 463-6296 for an exact quote.
The most common problem we see is a gate that stops closing or reverses halfway, and the cause is almost always the photo-eye or the safety loop rather than the motor. Sherman Oaks dust and spider webs routinely block photo-eye beams, and the buried safety loop wiring deteriorates with age and tree root movement. The fix is usually a cleaning, a realignment, or a splice repair, not a motor replacement. Call (213) 463-6296 and we’ll diagnose it in one visit with a written price.
A gate motor in Sherman Oaks lasts between 8 and 12 years on average, but the valley heat and dust can shorten that to 5 to 7 years if the gate is poorly lubricated or heavy for its motor. Motors on gates that swing or slide easily and get regular hinge maintenance last the longest. If your motor is making a new sound or the gate is moving slower than it used to, it’s worth finding out why before the motor fails entirely.
Most repair work on an existing gate does not require a permit. However, if your gate swings out over a public sidewalk, the operator arm extends past your property line, or you’re making significant changes to how the gate operates, the work may trigger a permit requirement with the Los Angeles Department of Building and Safety. When in doubt, ask the contractor before starting. A licensed contractor will know the local requirements and can handle the permit if one is needed.
We service nine gate automation brands including LiftMaster, FAAC, BFT, Linear, Viking, Ghost Controls, DoorKing, Elite, and Mighty Mule. We work on whatever motor is already on the property rather than steering customers toward a replacement, which means we can repair the operator you already own. Call (213) 463-6296 and tell us the brand and the symptom; a live person answers at any hour.
The Bottom Line
The DIY-versus-professional decision for gate repair in Sherman Oaks comes down to two things: voltage and liability. Lubricating hinges, cleaning photo-eyes, testing the manual release, and tightening bolts are safe, useful, and worth doing yourself. Touching the wiring, the control board, the safety loop, or the force settings is not safe and isn’t worth the downside. A mis-set force limit dents a car. A botched safety loop splice disables the entrapment protection. An unpermitted owner repair turns an insurance claim into a homeowner-funded loss. When the task crosses the line, call a licensed technician who hands you a written price before the work starts and leaves you with a photographic record of what was done. That’s the standard we hold at Vance Gate Repair Sherman Oaks, and it’s the same standard we’d recommend to any homeowner in the 91403, 91423, or 91401 zip codes weighing their options. For more guides & resources, visit our blog.he same decision.
Written by Adrian Vance, Owner at Vance Gate Repair Sherman Oaks, serving Sherman Oaks since 2014.