
Free on-site gate assessment - hinges, posts, and your LiftMaster or Nice gate operator checked before anything is quoted
The assessment is free and the quote is the invoice.
 Before
 After
After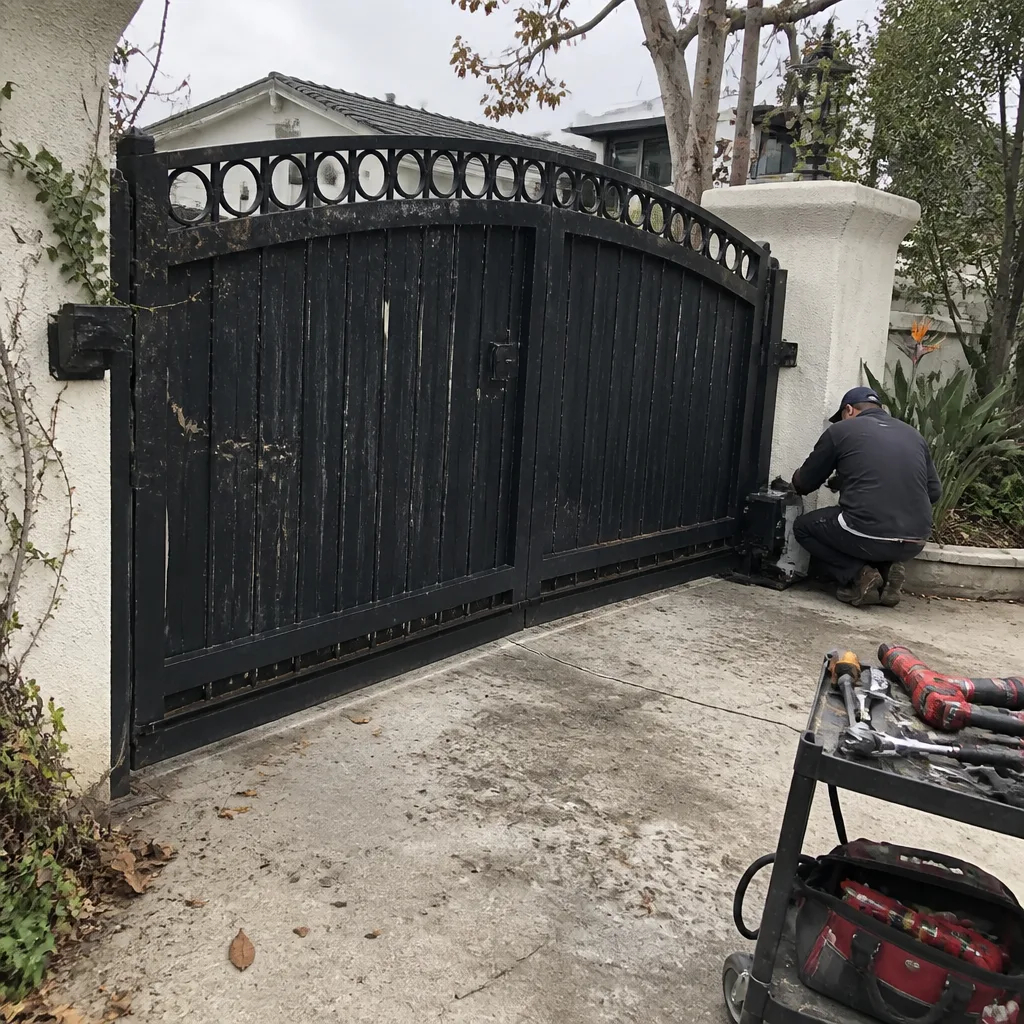 Before
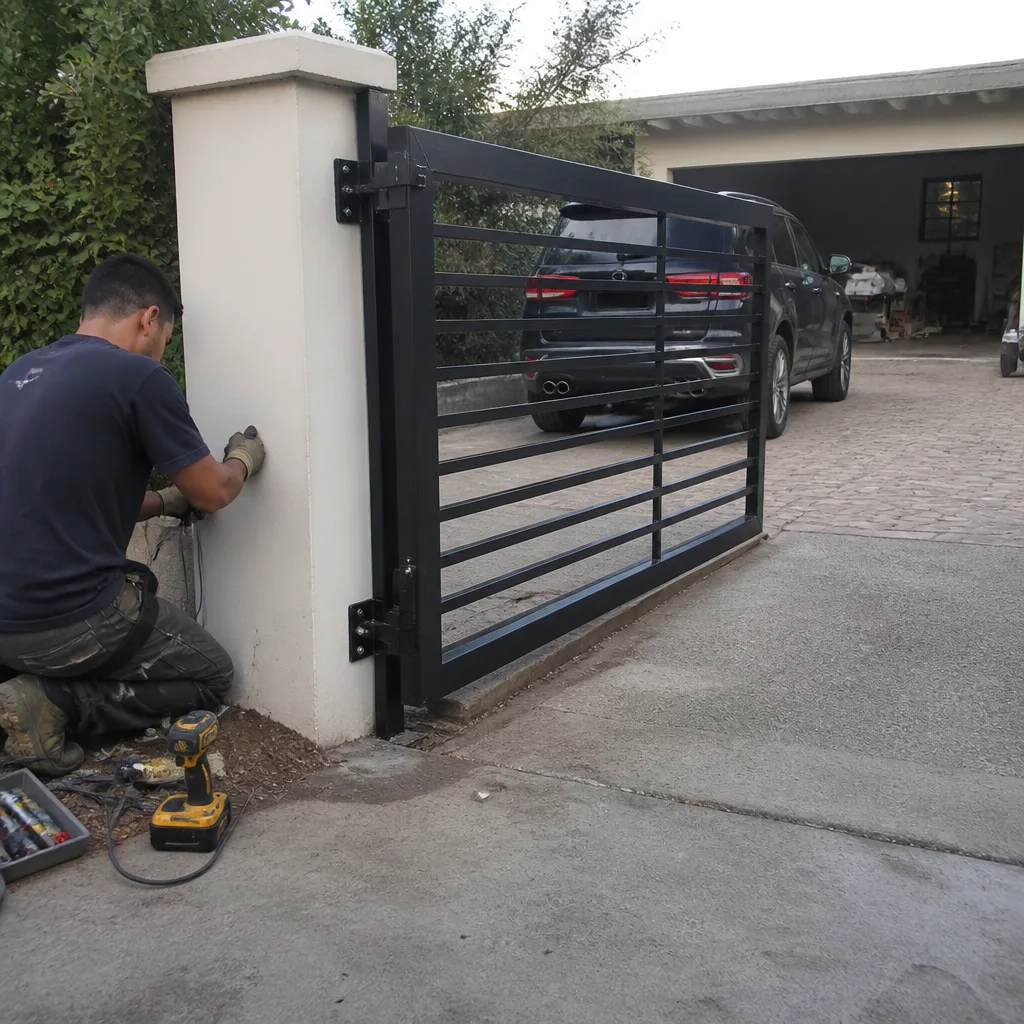 After
After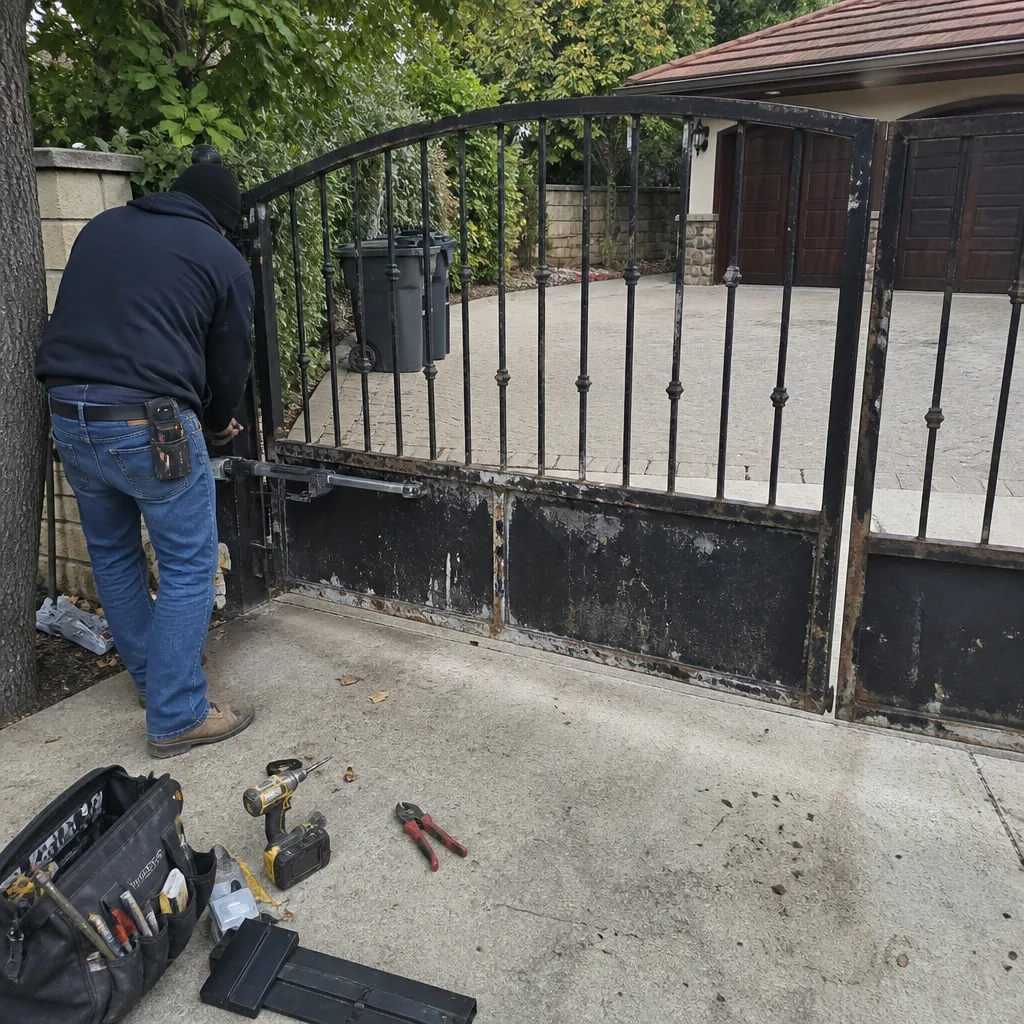 Before
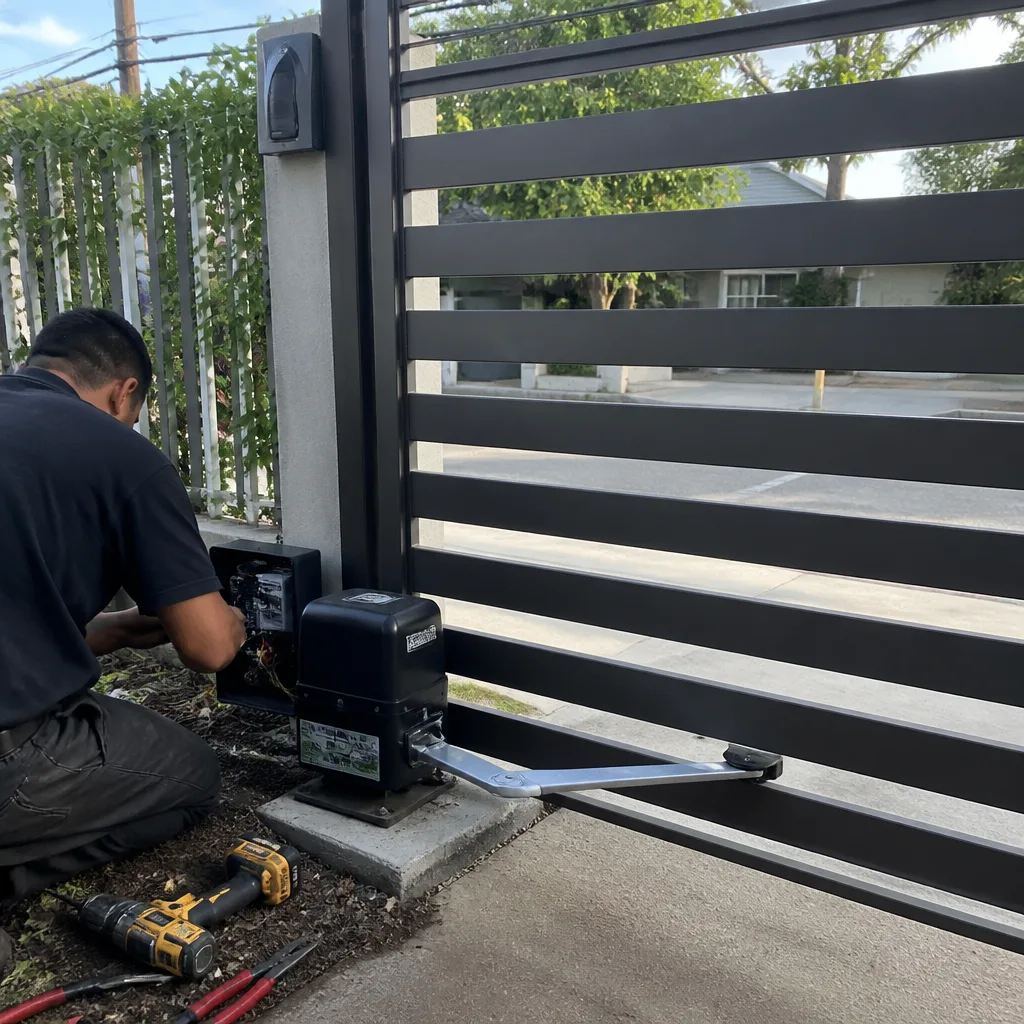 After
AfterLiftMaster Welding & Fabrication: The Sherman Oaks Owner’s Guide
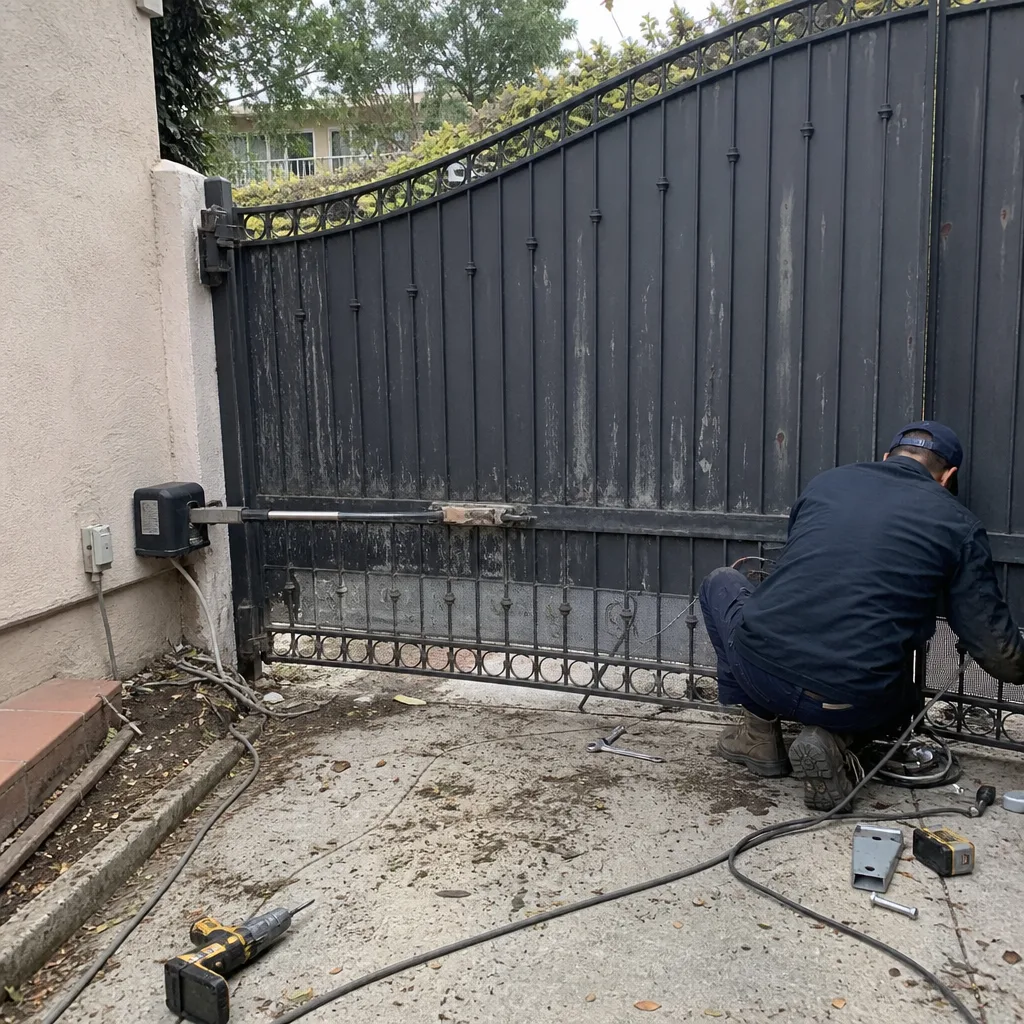
We stock and install LiftMaster-compatible weldments and fabricated steel parts for residential and light-commercial gate systems throughout Sherman Oaks. Most bracket, hinge, and gate-frame weld repairs run between $180 and $450 installed, depending on the extent of the break and whether we’re reinforcing or replacing the section. The typical discovery is a gate that suddenly sags, drags on the driveway, or binds against the post: something that was welded years ago finally let go.
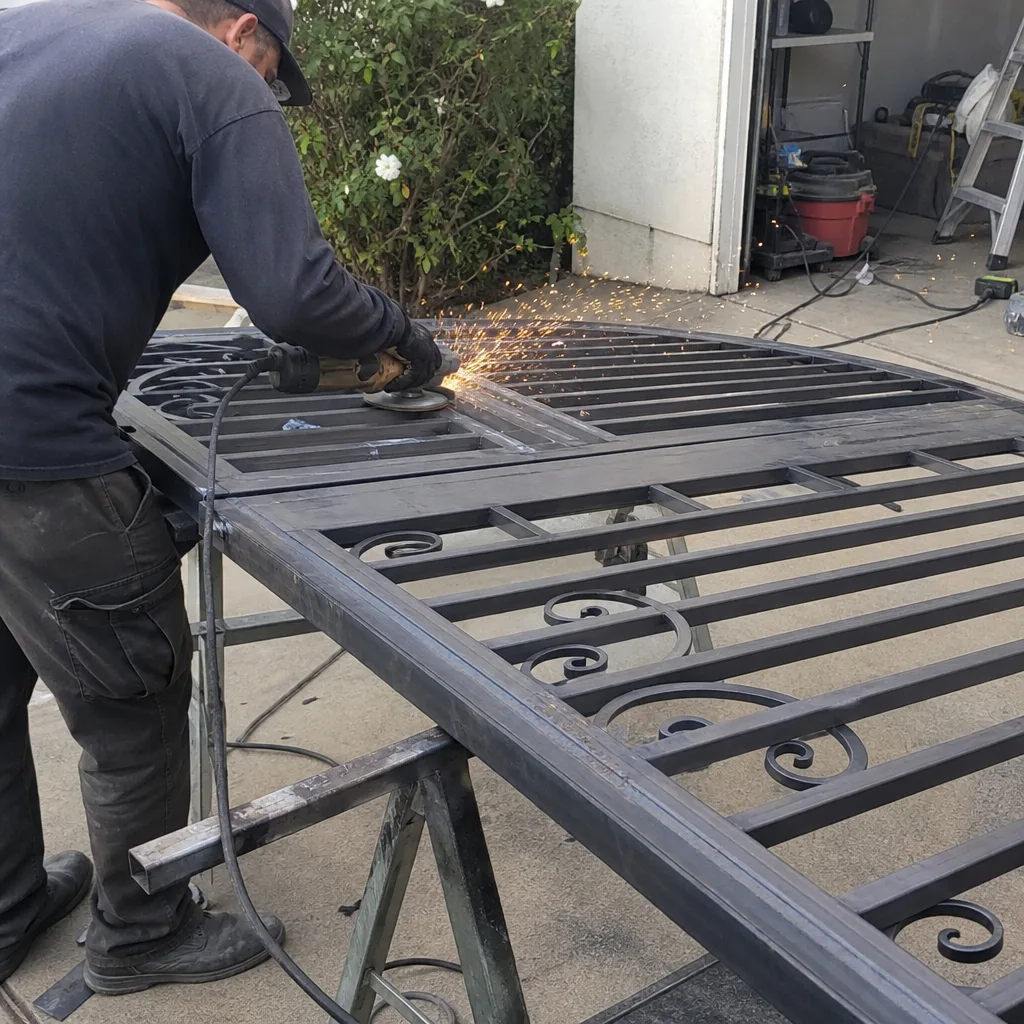
If your LiftMaster operator is fighting the gate on every cycle, the motor is usually the symptom, not the problem. In Sherman Oaks we see this on the hillside properties off Mulholland and the older ranch-style homes along Valley Vista: a weld fails quietly, the gate drifts out of square, and the operator burns itself out trying to move metal that no longer aligns. Before you replace a motor, check the steel.
Which LiftMaster Models This Applies To
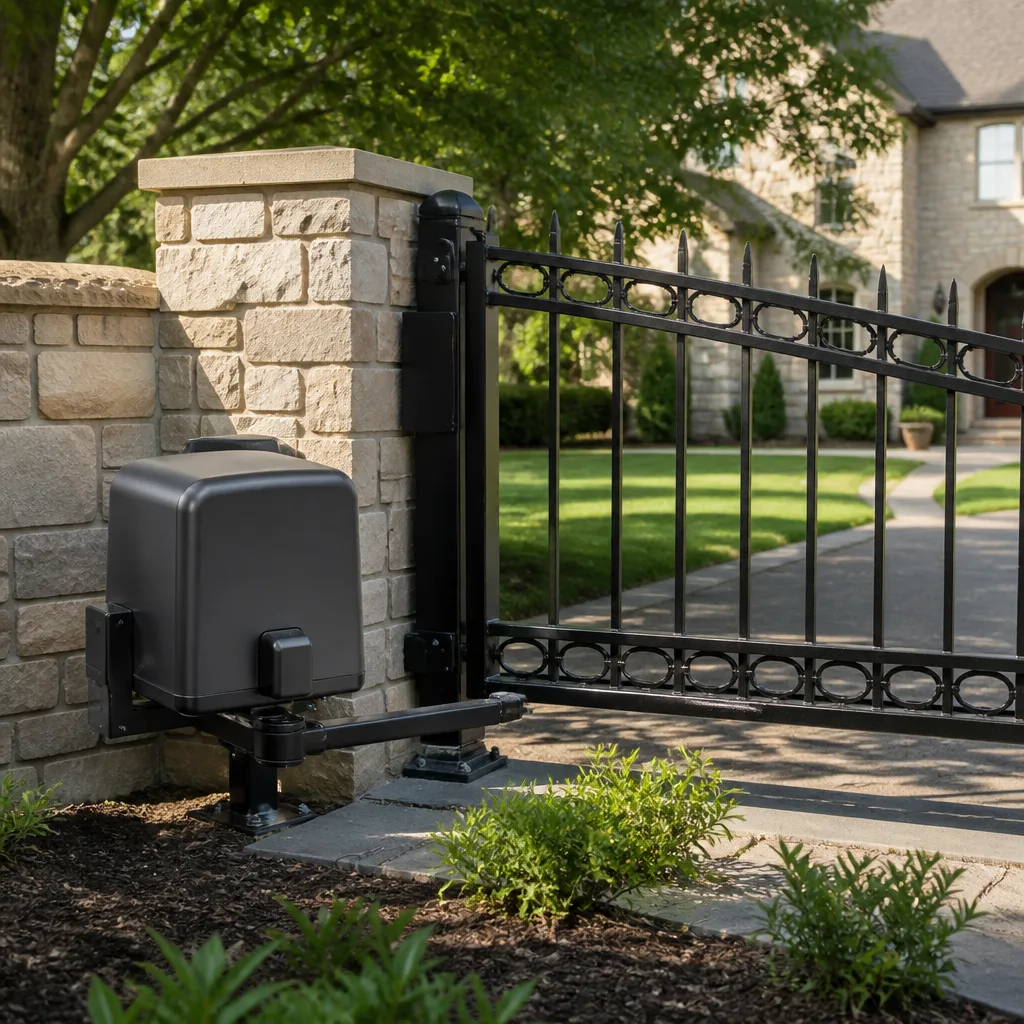
LiftMaster doesn’t manufacture the gate frame itself. The parts that break and need welding are the fabricated steel components that every LiftMaster operator bolts onto: the gate bracket, the post bracket, the hinge plates, and on slide gates, the rack mounting tabs. The operator model (LA400, LA500, CSL24V, SL3000, or any of the older S-Series) determines the bolt pattern and mounting geometry you need to preserve when we weld, but the steel failure itself is universal across the line.
Here’s the compatibility gotcha most Sherman Oaks owners run into: you can’t just weld the old bracket back together and call it done. LiftMaster’s mounting brackets are sized to specific operator models. The LA500’s arm bracket has a different offset than the SL3000’s, and if we weld a bracket back in the wrong position, the operator’s travel geometry is off by degrees that translate to gate bind within a week. When we fabricate a replacement bracket, we match the bolt-hole spacing and offset to your specific LiftMaster model, not “close enough.” OEM bracket kits are available for most current models, and they’re usually the right call when the base plate is intact. When the gate frame itself is the problem, quality aftermarket steel (same gauge, properly prepped and painted) is almost always the better value: the OEM part was never the weak point, the original weld was.
We’re an independent service provider, not a LiftMaster dealer or affiliate. That means we work on what’s already bolted to your gate rather than steering you toward a new operator. We also stock parts for Mighty Mule, Ghost Controls, and DoorKing systems, which matters if you ever swap operators down the line.
Signs Your LiftMaster Welding & Fabrication Is Failing
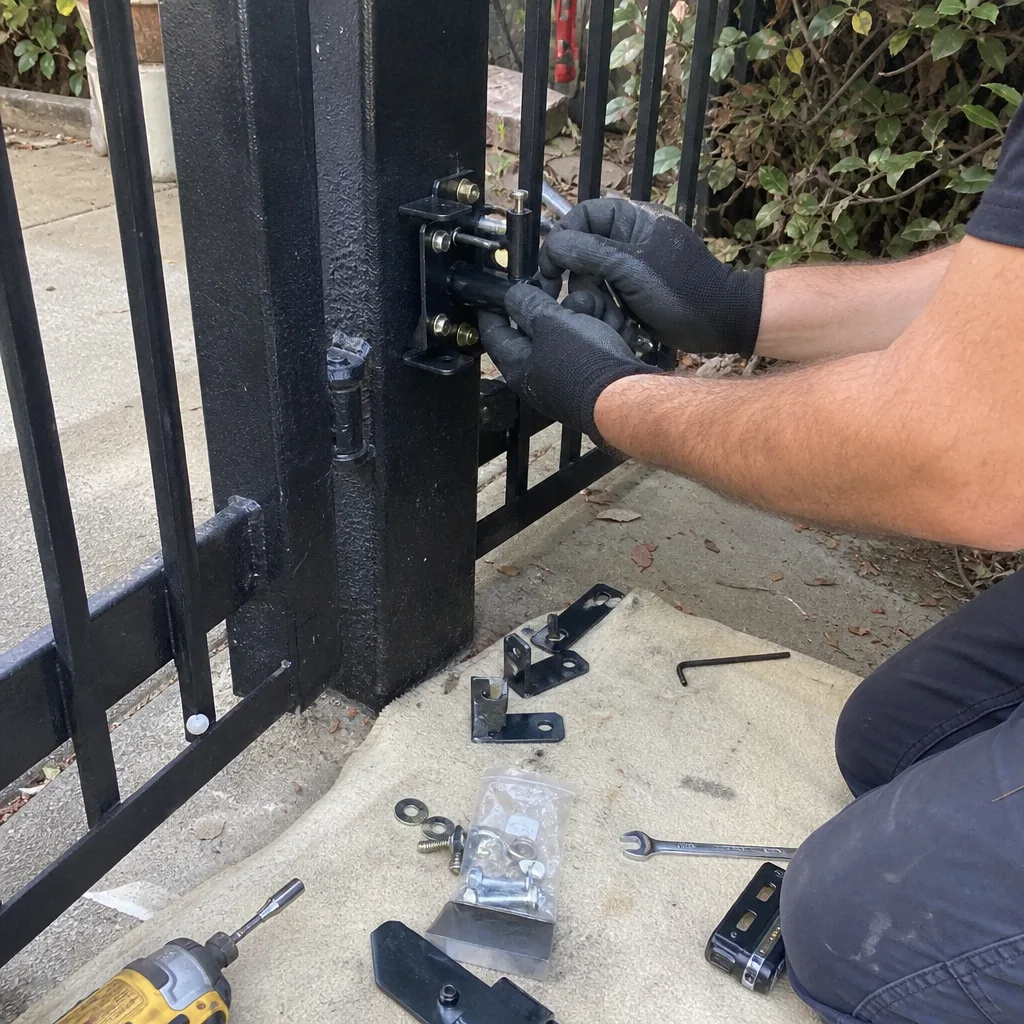
- The gate sags visibly at the latch side. A broken weld at the upper hinge transfers all the gate’s weight to the lower hinge, which then starts to deform. The gate drops half an inch, then an inch, then it won’t latch at all. The fix is almost always weld repair at the hinge plate, not hinge replacement.
- The operator arm bracket is loose or cracked around the bolts. LiftMaster arm brackets take the full force of every open and close cycle. Hairline cracks around the bolt holes mean the bracket is flexing under load. Left alone, the crack propagates until the bracket breaks clean off, usually while the gate is mid-cycle.
- The gate bangs or shudders when it reaches the open or closed limit. That’s often a broken weld on the stop plate or the receiver post bracket. The operator doesn’t know the physical stop moved, so it keeps driving until the limit switch tells it to quit. The noise is steel-on-steel impact with no cushion.
- You can see daylight through a seam that used to be tight. On older Sherman Oaks gates, the original welds were often done with minimal penetration. After years of heat cycling (our summer-afternoon driveway temps easily clear 140 degrees on dark steel), the weld bead can crack along its length. A visible gap means the joint is no longer structural.
- The gate drags or scrapes in one spot along its travel. A weld break on the gate’s internal framing lets one corner drop just enough to drag on the driveway. You’ll see a fresh scratch or worn spot on the concrete first, then the gate will start tripping the obstruction sensor and reversing.
 Before
 After
AfterReplacement Cost & What’s Included
In Sherman Oaks, plan on these installed ranges for LiftMaster-related welding and fabrication:
| Job | Typical Installed Range |
|---|---|
| Gate bracket weld repair or reinforcement (single bracket) | $180-$280 |
| Hinge plate re-weld (gate still hung, single hinge) | $200-$320 |
| Custom bracket fabrication to match LiftMaster bolt pattern | $250-$450 |
| Gate frame crack repair (per section, including grinding and prep) | $220-$400 |
| Full bracket set fabrication and installation (post + gate + arm) | $350-$650 |
The range reflects what we find once we grind back the old paint and rust: a bracket that just needs a clean re-weld costs less than a bracket that crumbles when we touch it. Nothing gets fabricated or welded until you’ve seen a written price for the exact scope, which is the whole point of the way we work. Every weld gets ground, primed, and painted in black or a color match to your existing hardware. The work is covered by our 365-Day Done Right Promise: if the weld fails or the bracket shifts within a year, we fix it. No argument, no fee.
DIY or Call Us?
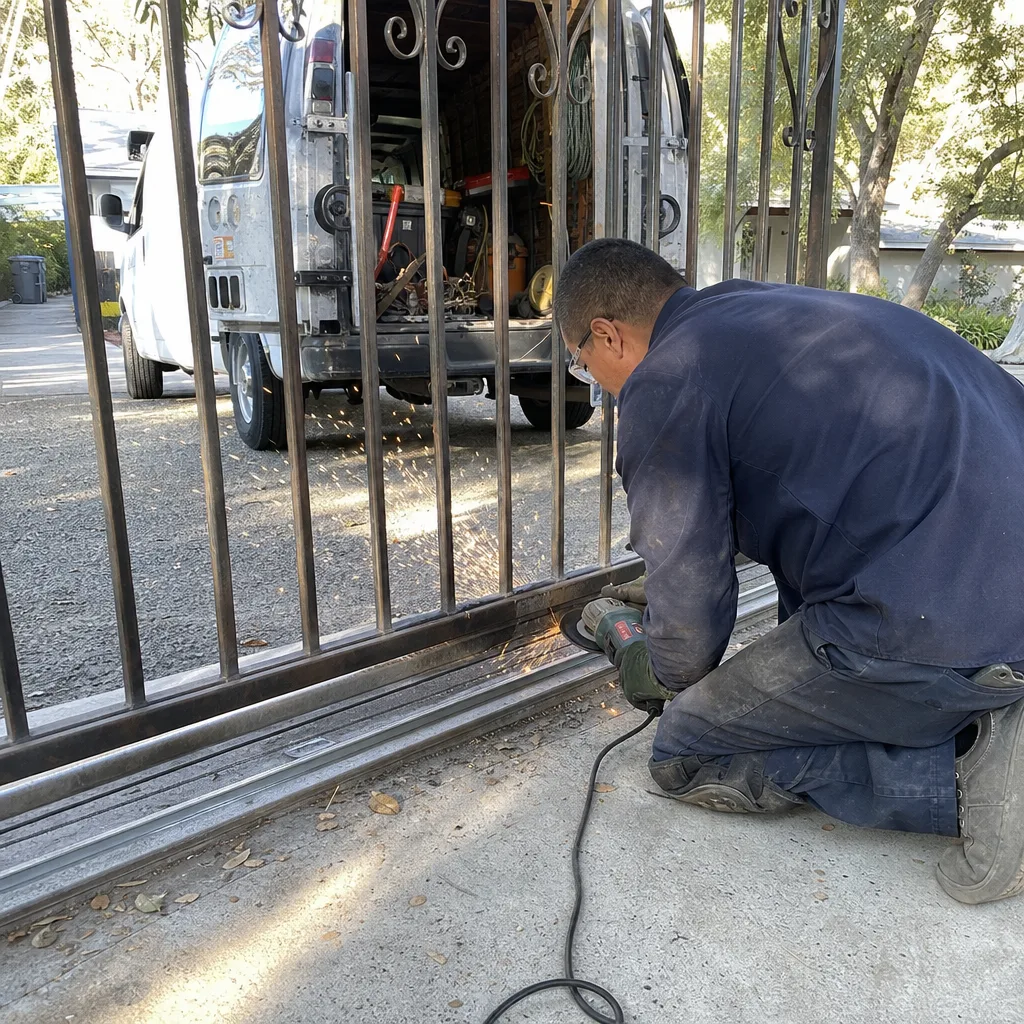
Here’s the honest split, from someone who’s seen what comes back from a Saturday afternoon with a borrowed flux-core welder.
What you can safely do yourself: inspect. Look at every visible weld on the gate and brackets. Chalk-mark any crack you see, then check it again in two weeks. If the chalk line has grown, the crack is propagating. Clean the area with a wire brush if you want a better look. You can also take photos of the LiftMaster model label and the bracket dimensions, which lets us fabricate before we arrive.
Where DIY goes wrong: welding on a gate that’s under tension is genuinely dangerous. A gate that’s sagging into a broken weld is a spring searching for a trigger. Hit it with a grinder or put heat to the wrong spot and the stored force can release suddenly. Also, MIG welding without proper eye protection doesn’t just hurt, it can cost you your sight. We do this with the gate properly supported or fully removed, the operator disconnected, and the correct prep behind every weld bead. If you’d rather have it done once, call (213) 463-6296 and tell us what you found. I’ll tell you what we’ll do, what it costs, and what you’ll have when we leave.
FAQs
A properly prepped and welded gate bracket should last 10 to 15 years in this climate. What kills welds early around here is poor original penetration plus our dry-season dust that settles into seams and holds moisture at the weld line during winter rains. If the original weld was done by the gate installer using a cheap wire-feed welder with no prep, we see failures in 3 to 5 years. When we weld it, we grind to clean metal first. That’s the difference.
Usually yes, and we’ll tell you straight if the answer is no. A cracked bracket that’s still dimensionally intact can be V-grooved, welded, and reinforced with a gusset. A bracket that’s rusted through or bent beyond reasonable correction needs to be fabricated new. We never throw a part at the problem just because it’s easier; the goal is to leave you with steel that outlasts the operator bolted to it.
Most single-bracket or hinge repairs are done in 1.5 to 3 hours on site. Fabrication work we can often do in the truck or back at the shop, then install the same day. If your gate needs to be removed for frame repair, budget a half day. We bring the gate back into alignment before we weld, which is where the real time goes. The welding itself is the fast part.
We carry the most common LiftMaster arm and post bracket patterns as OEM parts, plus raw steel stock for fabrication at the Sherman Oaks shop. If you have a less common model, we take measurements on the first visit and fabricate to match, usually within 24 hours. Either way, you’ll know which path we’re taking before any work begins.
Written by Adrian Vance, Owner, Vance Gate Repair Sherman Oaks at Vance Gate Repair Sherman Oaks, serving Sherman Oaks and nearby areas.